Stinson Windows
By Mike Davenport, EAA 89102
September 2018 - I took possession of my Stinson 108-2 in the fall of 1992 or, according to my long-suffering wife, it took possession of me — you pick. Among the many “first things I’m going to do” was replace the solid windows with sliders, back to the way it came from the factory in 1946.
Well, stuff got in the way — a paint job, a couple of cylinder changes, and then an engine change, tires, etc. Every year for the next 26 years when we were doing the annual we’d say, “Got to change those windows back to sliders.”
Actually what I was saying was that my friend, Werner Griesbeck, EAA 108746, needed to change the windows. After all, he knew how to do it seeing as he had made sliders on several planes and I had done, well — none.
There was no pressing need to change them. The solid ones with those little round ventilators worked just fine. But whenever I wanted to take pictures, I knew they would not be quite as clear as they could have been. Okay, maybe I’m showing slight signs of OCD.
However, this year it happened. Plastic was purchased, and doors were taken off and then sent to the shop.
The first thing that happened was the removal of the existing windows along with the mass of accompanying silicone holding them in. This was followed by the trial fitting of a couple of types of lined rails to hold the new ones. Once that was done, one of the original solid windows was cut to provide a template for the new ones. It was necessary to cut the new stock 2 inches wider to provide the necessary overlap in the middle. Werner used a band saw to cut the Plexiglas to size and then smoothed the edges with a belt sander to eliminate any stress risers.
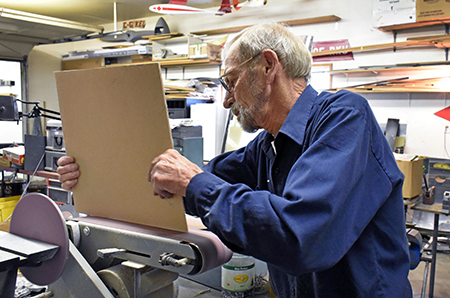
Werner Griesbeck artfully polishing the edges (protective paper still in place).
Remember, these things are meant to slide past each other so a doorknob had to be provided for. In addition, stiffeners were required on both the front and back edges as well as metal latches or clips that were made to hold them closed. Werner made angle pieces of aluminum and bolted them onto each panel to provide both the necessary stiffening and a handgrip to open and close all four windows.
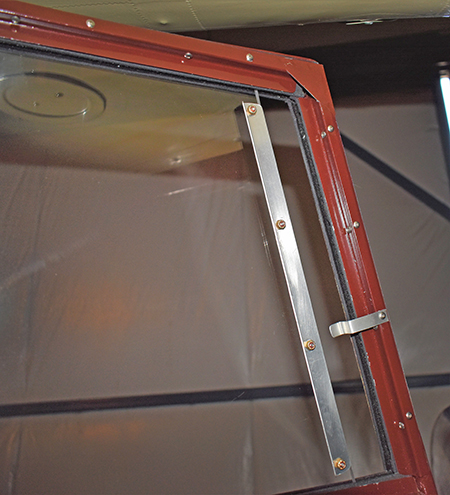
Finished detail of the new sliding windows.
New aluminum trim had to be made to go around the new windows and to hold the door panel upholstery in place. Let me say this, Werner is an artist with a brake and a shear.
Everything had to be trial fitted and then taken apart so the new brackets could be painted.
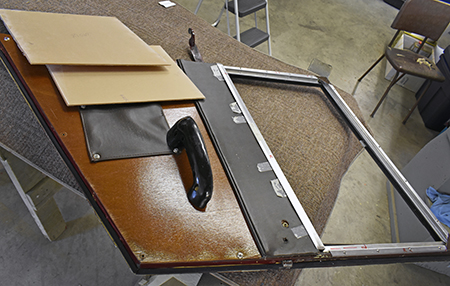
Trial fitting of the trim panel.
Once the paint cured, it was time for final assembly — at last. Small scratches were polished out, and a test flight on one of the hottest days this year proved that all the work was worth it. Open the front half of the window for pictures and there’s no draft. Open the back half and there is all the fresh air anyone can stand.
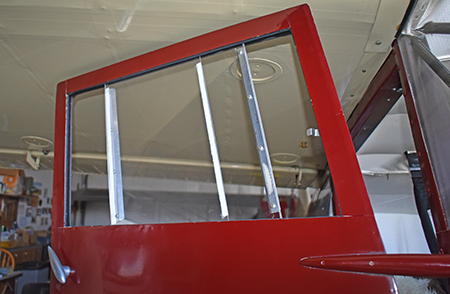
End result — beautiful new sliding windows installed.
Why do these things take so long?
