High-Speed Homebuilding
By Colin McGeachy, EAA 488057
July 2016 - Although I’m in awe of those chapter members who spend decades toiling away in garages and basements, I’m really not sure what’s taking them so long. I managed to build, not one but, two homebuilt aircraft in a little less than two weeks.
The Army Run is one of the biggest charity runs in Ottawa with some 22,000 runners taking part. This particular year, nine charities were given the opportunity to run “cheering stations” and the best one, as selected by a panel of judges, would win a grand prize of $3,000. Our son’s Air Cadet squadron (706) was one of the charities selected, and I was told by the fund-raising committee that the cadets would marshal the runners and that they’d need a couple of Snowbirds!
I searched eBay and Barnstormers but as there weren’t any CT-114 Tutors for sale, I decided that homebuilding was my only option. Despite being a longtime member of the EAA, this is something I’ve pretty much avoided doing since I started flying over 30 years ago. Given what I managed in two weeks, I can only imagine what I might have been able to build if I’d started all those years ago!
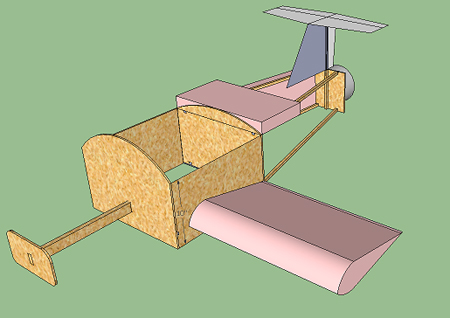
As I was going to do this properly, the first step was to invest in a computer-aided design (CAD) model. Google’s free SketchUp is great for this, and I decided that computational fluid dynamics and stress-modeling could be done closer to first flight.

The sketch
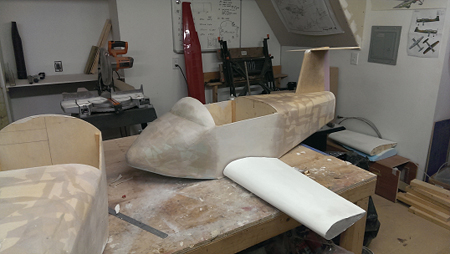
With the design completed, I had the basic cockpit and rear fuselage structure constructed in an evening. Next problem was the foam, and for that I needed cutting tools and expertise. There is really only one place to go for that, so everything was loaded in the car and off I went to see Phil Johnson, our EAA chapter president and longtime Cozy builder. Phil dusted off his foam cutters, last used 50 years ago to cut the Cozy wing cores, and a couple of hours later we had four wing panels. A second session a few days later and we had foam on the rear fuselage and large blocks of foam on the nose, which I would then hand-carve.
As with all composite aircraft I needed a second material and, after abandoning all the traditional but much too expensive and time-consuming methods, I selected papier-mâché. If you see this construction tip in the EAA’s Sport Aviation magazine, remember, this is where you saw it first!
The cure time for the composite adhesive was somewhat frustrating, and I may have to invest in an autoclave, or maybe a hairdryer, for the production models. After the wallpaper paste had finally dried, the wings and fuselage were given a light sanding and paint. As all real homebuilders will tell you, a title I feel eminently qualified to wear now, it’s the last 10 percent that takes 90 percent of the time.

Curing the dripping nose?
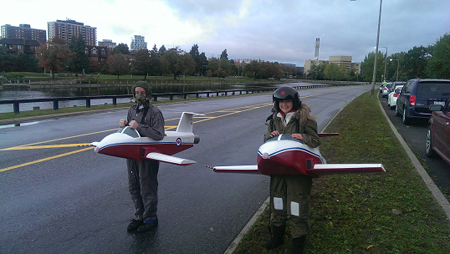
The first flight was planned for shortly after dawn as the winds would be calm. Knowing the danger associated with flight-testing, we insisted on a full flight suit and helmet. Everything went as briefed, and the performance is as expected. Top speed is about 5 knots, but they cruise comfortably at around 2 with the power pulled back. Initial altitude was a little over 3 feet, but it should be noted that speed and altitude are very dependent on the size of the cadet power unit installed.

Snowbirds with power units installed
As well a great building experience, it was a blast seeing the runners come past smiling at the Snowbirds. Some even stopped running to have their picture taken. To top it all, we won first prize!
